Some of the links in this post may contain affiliate links for your convenience. As an Amazon associate I earn from qualifying purchases.
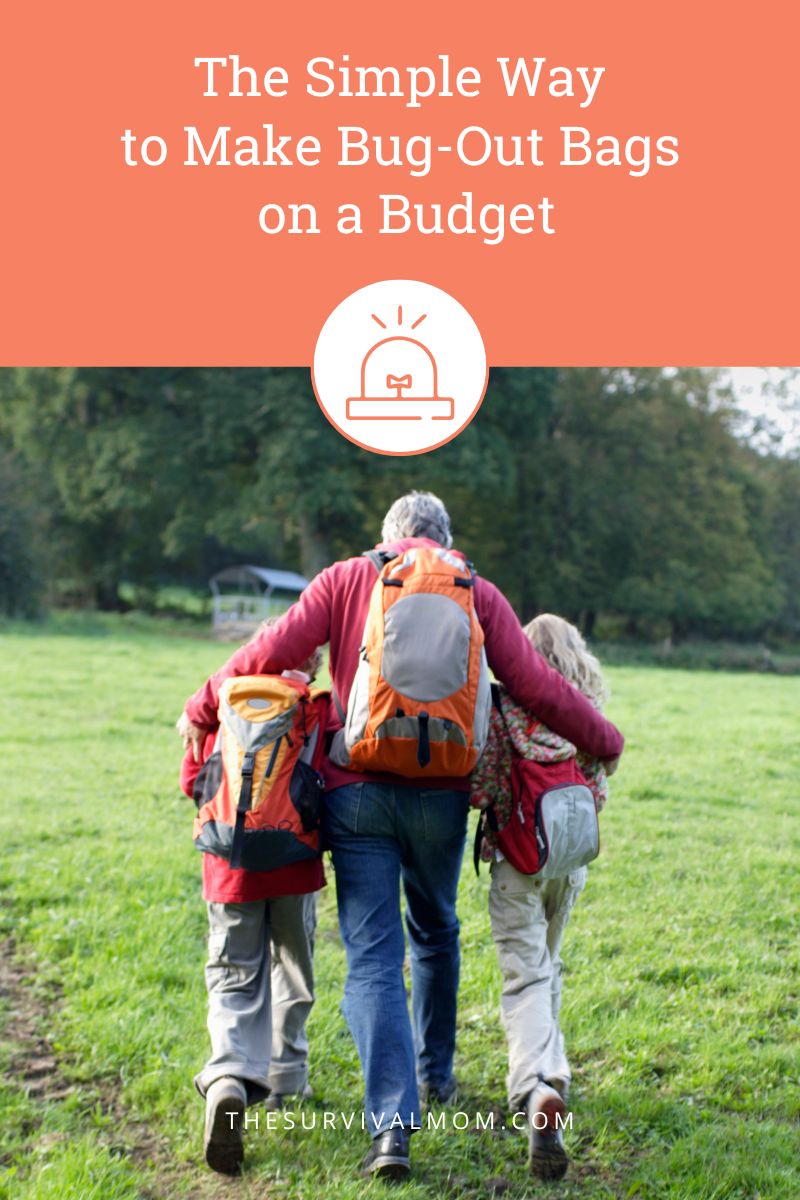
When I first went about assembling my family’s bug out bags, I made a list of everything I would want to put in them, and …the list went on and on.
I quickly realized it would not only be extraordinarily expensive, but there was no way a simple backpack would fit everything on my bug out bag list. I had to make choices, both to keep costs down and to make the packs realistic. Here’s how I did that.
 budget-267×400.jpg 267w, https://thesurvivalmom.com/wp-content/uploads/2018/12/The-Simple-Way-to-Make-Bug-Out-Bags-on-a-budget-750×1125.jpg 750w, https://thesurvivalmom.com/wp-content/uploads/2018/12/The-Simple-Way-to-Make-Bug-Out-Bags-on-a-budget-768×1152.jpg 768w, https://thesurvivalmom.com/wp-content/uploads/2018/12/The-Simple-Way-to-Make-Bug-Out-Bags-on-a-budget.jpg 800w” data-lazy-sizes=”(max-width: 539px) 100vw, 539px” src=”https://thesurvivalmom.com/wp-content/uploads/2018/12/The-Simple-Way-to-Make-Bug-Out-Bags-on-a-budget-267×400.jpg”/>
Conduct a Threat Assessment
To decide what items should occupy the valuable real estate in our packs, I needed to define the most likely disasters for my geographic location and for my family of six. To do this, I conducted a threat assessment.
Upon evaluating our Emergency scenario possibilities, I saw very few scenarios that had us leaving our home. Most of those involved heading to another location just a day or two away.
In these instances, we would either have nothing (house fire) or could take what we could (tornado damage). After that evaluation, I decided to pack mainly travel bags supplied for up to three days.
Still, three days’ worth of food, clothing, and supplies for six people is not a cheap endeavor. I wondered if I could do each bag for under $20*, not including the bag itself or if I added a personal water filtration device.
There are backpack sales in October after school starts and during holiday sales to take advantage of. (I do plan to reinforce stitching if I do end up buying backpacks that are not camping quality. Sewing skills will come in handy for doing this.)
I also watched for deals on the water filters so we can have some in the bags and our Emergency supplies at home.
Shopping for Bug Out Bag Contents
What did I need for a three-day bug out bag?
Good question.
My bug out bag list now included toiletries, first aid supplies, food, and comfort items. I went to the local dollar store and big box store to get ideas for items to include in the packs and their prices.
Toiletries
One of the best deals for toiletries was buying a travel kit at the big box store.
For $6, the kit for a woman included:
- shampoo,
- conditioner,
- lotion,
- deodorant,
- toothbrush,
- toothpaste,
- flosser,
- a comb,
- and a bag to keep it all in.
(I grabbed feminine hygiene products from the house to supplement the bag.)
A kit for a man included:
- shaving cream,
- deodorant,
- 2-in-1 shampoo and conditioner,
- razor,
- toothbrush,
- toothpaste,
- a comb,
- and a bag.
Throwing in a pack of 18 washcloths for $4 brought me up to $7 a bag.
An alternative is to buy 3 oz. bottles to fill with products from home. They’re about $3 for 4. Then add a comb, deodorant, toothbrush, and toothpaste, adding another $3. If that works, it brings the total to $7 a bag, including washcloths, too.
If you need ideas, just think about what you use daily or review this supplies-for-survival/”>list of hygiene items.
supplies“>First Aid supplies
The very simplest first aid kit can be found for $1. It contains a few band-aids, gauze, antiseptic wipes, and a case. I used medicine (prescription medications and over-the-counter) from my home supplies and made sure to label and put dosage directions. Antibacterial soap added $1 more.
Now, the total is up to $9 per bug out bag.
food“>food
food is a very important part of the bug out bag, and often also the most expensive part of the bug out bag.
Calorie-dense trail mix, beef jerky, dehydrated or freeze-dried food, MREs (meals-ready-to-eat), and some comfort food are probably the best options. Big bags of trail mix and beef jerky aren’t cheap, but for big families especially, buying bulk often yields a better price.
I don’t think three days of food can be included in the $20, but I’ll supplement it with what I have on hand. I try to buy beef jerky when I see it on sale. Plus, I’ve been purchasing freeze-dried meals from Thrive Life.
Candy is a great item to buy on sale after the holidays to have for comfort items. Try to stick with hard candies that won’t melt.
I placed three freeze-dried meals in each pack, plus two bags of beef jerky, three granola bars, and some candy. Bags of trail mix were divided between the bags. I supplemented with calories from home, too. This should get us through three days.
Silverware was also needed included, and I found sets of 4 forks for $1 at the box store. All told, I added about $4 a bag to the total (trail mix, silverware, and granola bars).
The running total per bag is $13 now.
Clothing
To further help keep costs down, I gathered clothing from what we already had in the house to use in the bags, except for an extra pair of gloves and a hat. We also had lots of leftover crib-size blankets that I used.
Cost $0.
Comfort Items
I don’t want to spend $7 on comfort items alone, so I looked for things that would also be useful. Depending on the ages of your children, the dollar stores have great comfort items like stuffed animals, books, puzzle books, pencils, notebooks, stickers, and games.
I picked two things for each of my children and to guard against boredom, I varied them so they could share. From my home supplies, I included notebooks, along with some sharpened pencils (we have a lot of those).
With $2 on comfort items, I’m up to $15.
Other Useful & Inexpensive Items
I could stop there, but I also found some other useful items that weren’t very expensive.
At the dollar store, there were glow sticks, flashlights, batteries, hair ties, sunglasses, matches, bungee cords, rain ponchos, gloves, hats, pocket knives, and toolsets (a screwdriver, bits to fit on it, and a knife). I added several of these items and spread them across our bags. If you had some of these items around the house, you could supplement with them. Then, use the saved money to buy some of the items that you need.
Design the Pack YOU Need
There are a lot of bug out bag lists out there telling you that you need this, that, or the other item in your pack. Make sure your choices are based on your analysis of your most likely survival situations and each family member’s unique circumstances. What someone else needs may not always be what you need.
Also, make a plan to rotate perishables and seasonal clothing items. You don’t want to have warm weather clothing options in the middle of winter.
Conclusion
Building a solid bug out bag is a basic component of Emergency Preparedness, but it doesn’t have to be expensive. Start with the basics. You can always add to them each month. You don’t have to do it all in one day. Keep an eye on the sales racks, especially after the holidays. Even for a family of six, bug out bags are doable and can be fairly affordable.
If you only had $20*, what would you buy for a bug out bag?
*With current inflation, the cost of assembling this bag has undoubtedly increased. However, this bug out bag checklist will likely still produce a useful bag at what are now today’s “budget prices.”
Originally published December 26, 2018; updated by The survival Mom editors.
Sarah Anne Carter is a writer and reader. She grew up all over the world as a military brat and is now putting down roots with her family in Ohio. Visit her at SarahAnneCarter.com
budget/”>Source link